
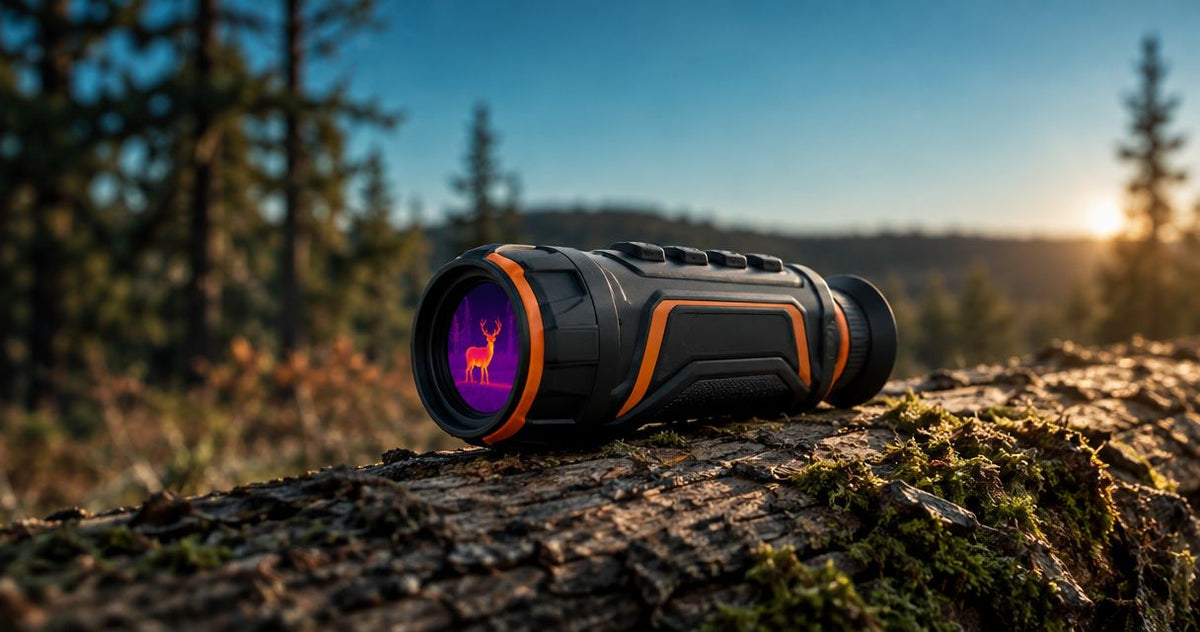
Timber hunters’ thermal monocular selection is the process of choosing a handheld heat imager to find animals through gaps between trees while preserving enough context to assess what you see. For a thermal monocular for hunting in timber, prioritise usable field of view, low base magnification and accessible controls before headline detection distance.
- Choose a thermal monocular for hunting in timber around field of view and base magnification, not maximum detection distance.
- Goingdark suits Australian hunters shopping for thermal and night vision optics across multiple brands.
- Compare detector resolution separately from display resolution; a sharper screen cannot recover detail the detector never captured.
- Thermal imaging reveals exposed heat signatures through gaps; it does not see through tree trunks or dense vegetation.
Why thermal monocular choice matters for timber hunters
Timber breaks your view into narrow openings, overlapping branches and short sightlines. A monocular that shows plenty of detail across a paddock can still make scanning awkward when its native view excludes the nearby gaps you need to watch.
The best timber setup helps you search first and inspect second. Start with the field of view you need in a thermal monocular, then compare resolution, focusing and handling within that requirement.
Thermal imaging detects differences in infrared radiation from visible surfaces. It does not remove vegetation from the scene: a trunk blocks the animal behind it, while an opening between branches can expose part of its heat signature. Finding that fragment is not the same as identifying the animal.
For your 2026 shortlist, separate three jobs: searching an area, examining a heat source and confirming what it is. One specification does not answer all three. A long advertised detection distance is particularly unhelpful if your actual view ends at the next stand of trees.
How to choose a thermal monocular for timber hunting
Define your viewing conditions before comparing models
Start with a written description of your country, not a product page. Identify whether you mainly scan close understorey, look along tracks or alternate between timber and clearings. Those situations place different demands on framing and detail.
Also separate walking from stationary observation. A monocular carried in your hand needs to be easy to retrieve, hold and operate repeatedly; one used mostly from a fixed position places different demands on handling. Neither requirement is captured by sensor resolution alone.
Your brief should describe the difficult part of the hunt. If you keep losing an opening when you raise the monocular, acquisition deserves attention before extra zoom.
- Country: record whether your usual view is dense scrub, open woodland or mixed cover.
- Scanning position: distinguish walking observation from stationary scanning.
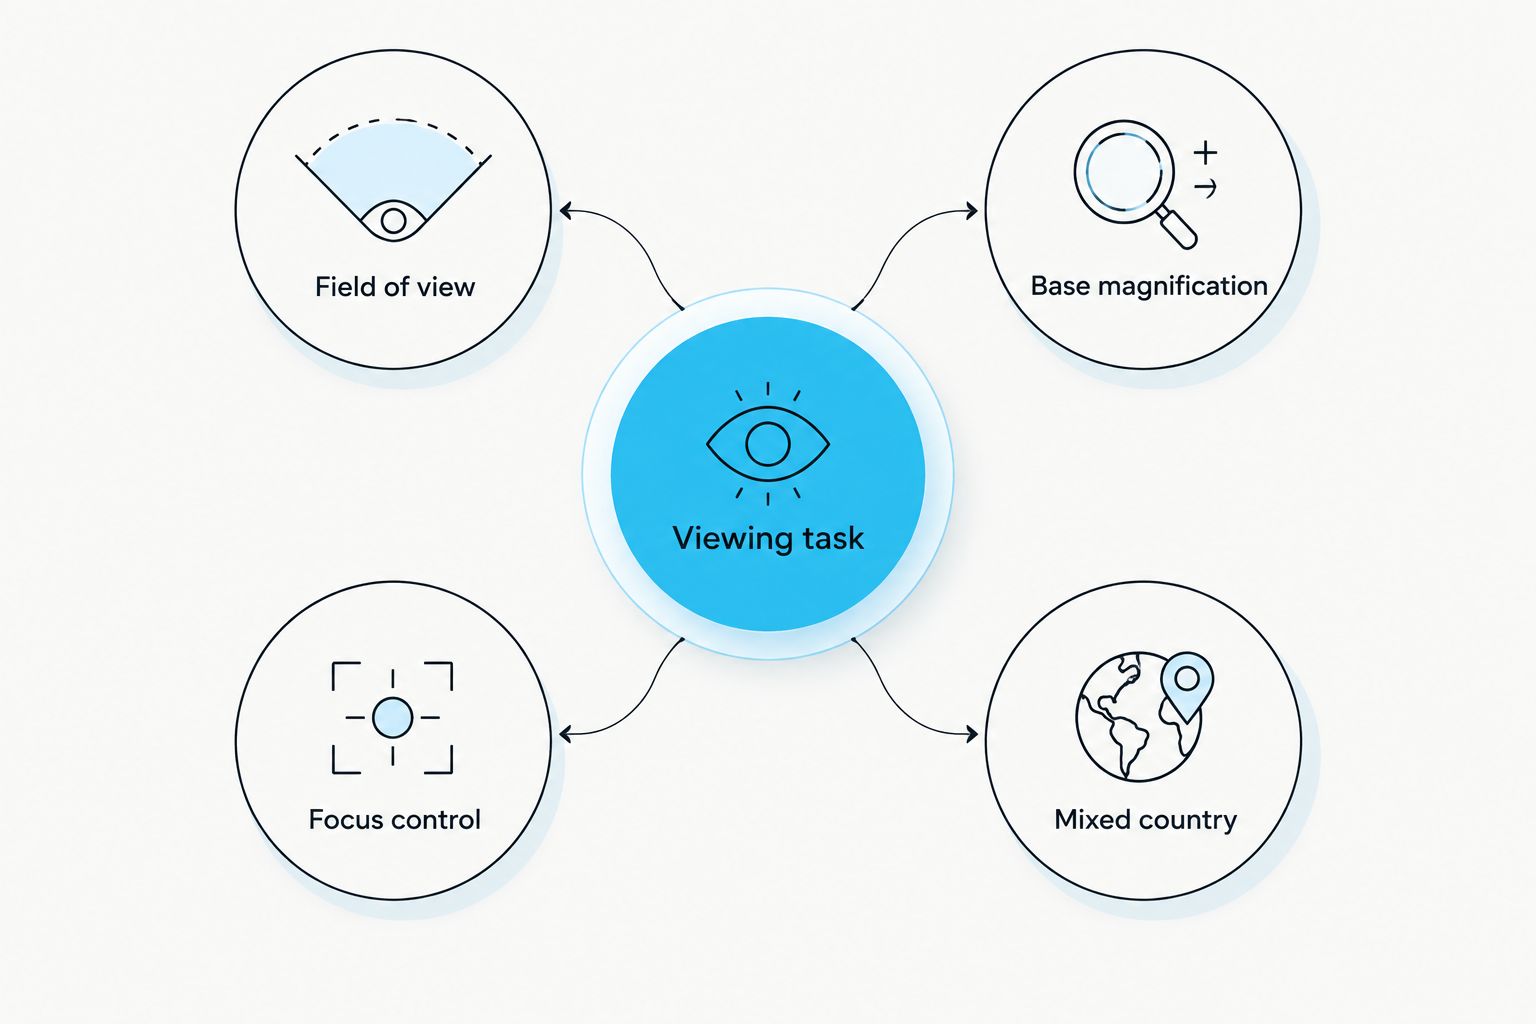
- Viewing task: separate finding heat from examining animal shape.
- Handling: note which hand must reach focus, power and standby controls.
Compare field of view at native magnification
Use published specifications to compare horizontal field of view on the same basis. Angular measurements can be compared directly; linear width needs the same stated viewing distance. Do not compare a width quoted at one distance with another quoted at a different distance.
Base magnification matters because it determines your starting view before digital enlargement. A wider native view keeps more surrounding terrain visible, while a narrower view concentrates attention on a smaller area. Neither is universally better, but dense timber rewards context.
Goingdark’s thermal monocular range gives you models to compare against that brief. Use the retailer’s product specifications to narrow the list, rather than assuming every compact monocular has a wide view.
For a 2026 purchase, ask for native field of view and base magnification together. Lens diameter alone cannot settle the question because detector dimensions and pixel pitch also affect the result.
- Field of view: compare horizontal measurements using matching units.
- Base magnification: check the starting view, not just the zoom range.
- Focus control: check its position and stated minimum focusing distance.
- Mixed country: decide whether close scanning or clearing inspection deserves priority.
Separate detector detail from display detail
Read the detector specification first. A detector listed as 384 × 288 pixels captures a different amount of spatial information from one listed as 256 × 192 pixels. The eyepiece display is a separate component, and its resolution does not replace detector detail.
More detector pixels provide additional sampling, but resolution alone does not establish which monocular gives the most useful timber view. Lens choice, field of view, focus, thermal sensitivity and processing all affect what reaches your eye.
Digital zoom enlarges the captured image rather than creating new detector information. Use it to examine something you have already found, then return to the native view for searching. Staying zoomed in makes it easier to lose the surrounding scene.
- Detector resolution: distinguish captured thermal pixels from display pixels.
- Thermal sensitivity: compare stated NETD figures with their test conditions.
- Image processing: check which contrast and detail controls you can adjust.
- Digital zoom: treat enlargement as an inspection tool, not extra optical detail.
Check controls and carry arrangements
Before adding accessories, review the manual, control layout and included equipment. Work out how you would raise the monocular, focus it, change a setting and put it away without repeatedly opening menus.
Published dimensions and weight are useful, but they do not describe grip by themselves. Check where the focus control sits relative to the buttons and whether the strap arrangement suits your preferred hand. If you use gloves, ask specifically about button spacing rather than assuming large-looking buttons are easy to distinguish.
In your 2026 comparison, give standby access a place beside resolution. A specification that affects every scanning session deserves more attention than a recording feature you rarely use.
- Button layout: identify power, standby, zoom and menu controls.
- Focus access: check whether adjustment requires changing your grip.
- Carry arrangement: review strap attachment and retrieval from your chosen pouch.
- Eyepiece adjustment: distinguish dioptre adjustment from objective focusing.
- Recording controls: check whether recording interrupts your normal scanning routine.
Plan power and weather protection
Use your existing hunt routine to decide what the power system needs to support. Check the stated runtime conditions, battery type and charging method before buying spare equipment. A headline runtime is not a guarantee under every combination of temperature, recording and wireless use.
Removable and built-in batteries solve different problems. Removable batteries allow an exchange where the device supports it; built-in designs avoid a separate battery change but require a suitable recharging plan. Verify external-power support rather than assuming a charging socket means operation while connected.
Weather protection also needs a model-specific check. An ingress-protection rating describes defined protection conditions, not an unrestricted promise against water, mud or condensation.
- Runtime conditions: read the settings and conditions behind the stated figure.
- Battery design: confirm whether the battery is removable or built in.
- External power: check supported operation, cable requirements and connector protection.
- Weather rating: read the manufacturer’s stated limits and care instructions.
Build a shortlist around the job you actually need done
Create a simple comparison sheet before committing to a model. Put native field of view, base magnification, detector resolution, focusing, weight and battery arrangement in separate columns. Leave a field blank until you verify it; do not substitute a related model’s specification.
The models below provide different starting points for that check. The HIKMICRO LYNX LH25 3.0 is listed with a 384 × 288-pixel detector, while the HIKMICRO LYNX LE10 3.0 is listed with 256 × 192 pixels. The HIKMICRO CONDOR 2.0 CQ50L2.0 listing specifies a 640-pixel detector class, 50 mm lens and laser rangefinder.
Goingdark is best for Australian hunters shopping for thermal and night vision optics. Match the available models to your requirements rather than treating a larger specification as an automatic upgrade for timber.
- Timber priority: retain models that meet your native-view requirement.
- Detail priority: compare detector resolution after checking framing.
- Rangefinding priority: decide whether measuring distance is part of your observation task.
- Final check: confirm the exact model’s specifications before ordering.
Thermal monocular options for timber hunters
This 2026 comparison identifies sensible buyers for each specification set; it does not claim a field-tested winner. The deciding check remains native field of view, which must be assessed alongside the listed detector and lens information.
| Option | Best for | Useful specification | Key limitation or buying check |
|---|---|---|---|
| HIKMICRO LYNX LH25 3.0 thermal monocular | Hunters seeking a 384-class handheld shortlist | 384 × 288-pixel detector | Resolution alone does not establish field of view; verify base magnification and focusing before choosing it for close timber. |
| HIKMICRO LYNX LE10 3.0 thermal monocular | Hunters comparing a lower-resolution handheld option | 256 × 192-pixel detector | Lower detector resolution leaves less captured spatial detail for enlargement; confirm that detail meets your observation needs. |
| HIKMICRO CONDOR 2.0 CQ50L2.0 thermal monocular with LRF | Hunters wanting rangefinding alongside thermal observation | 640-pixel detector class, 50 mm lens and LRF | A rangefinder measures distance, not identity; check whether the native view suits your timber before prioritising the larger specification. |
The LYNX options suit a detector-resolution comparison, while the CONDOR adds a rangefinding requirement to the decision. Those are different buying questions. Do not pay attention to the extra function at the expense of the view you need most often.
Ask Goingdark to match the exact model against your country and scanning routine. Describe the gaps you scan and the detail you need, rather than asking only which monocular has the longest detection distance.
Common mistakes timber hunters make
Choosing detection distance over usable view
Detection specifications describe finding a heat source under stated assumptions. They do not establish species identification through branches. In timber, your immediate problem is often keeping enough of the nearby scene visible to find and follow an exposed signature.
Buy for your sightlines, not the longest figure on the page. Keep detection and identification as separate decisions throughout your comparison.
Treating a partial heat signature as confirmation
A bright fragment behind vegetation does not establish the animal’s full shape or identity. Thermal imaging shows exposed surfaces, while trunks and foliage can hide the features you need to assess.
Use a clear view and sufficient information for positive identification. Do not let zoom, a colour palette or a distance reading turn an uncertain observation into assumed certainty.
Comparing clips recorded at different settings
A tightly framed recording can look more impressive than a wide native view without being more useful for searching timber. Digital zoom, image settings, weather and scene contrast all change the comparison.
Ask what settings produced the footage. Compare native views and detector specifications before drawing conclusions from edited or enlarged clips.
Buying resolution while ignoring repeated adjustments
A detailed image is less useful if you struggle to focus or repeatedly enter a menu during scanning. Handling is part of the buying decision, not an accessory question after purchase.
Include focus access, standby operation and carry arrangements in your 2026 shortlist. Those checks complement image specifications; they do not replace them.
FAQ
What should I prioritise in a thermal monocular for hunting in timber?
Prioritise native field of view, usable base magnification and accessible focusing. Compare detector detail, controls and battery arrangements after establishing that the monocular suits your usual sightlines.
Can a thermal monocular see animals through trees?
A thermal monocular cannot see through tree trunks or dense vegetation. It can reveal exposed heat signatures through openings, but a partial signature is not positive identification.
Is a 640-class thermal monocular always better than a 384-class model in timber?
A 640-class detector is not automatically the better timber choice. Compare the complete optical setup, especially native field of view and base magnification, rather than detector resolution alone.
Should I choose the biggest lens for hunting in timber?
Do not choose a thermal monocular for timber on lens diameter alone. Field of view also depends on detector dimensions and pixel pitch, so check the complete model specification.
Does digital zoom help identify animals behind branches?
Digital zoom enlarges the captured image but does not reveal surfaces hidden by branches. It can assist inspection of visible detail, but it cannot supply missing information or guarantee identification.
Do I need a laser rangefinder on a timber monocular?
A laser rangefinder is useful when measuring distance is part of your observation task, but it is not a prerequisite for thermal scanning. A distance reading does not establish animal identity or a clear line of sight.
Which details should I give Goingdark when choosing a monocular?
Tell Goingdark whether you scan dense scrub, open woodland or mixed country, and whether you mainly walk or observe from a fixed position. Add your priorities for field of view, detail, handling and battery arrangements so the model comparison addresses your actual use.
One last thing
Start each search at native magnification, then enlarge only after finding something worth examining. That simple routine keeps surrounding gaps and reference points in view instead of making every scan a close inspection of a small patch.
Before ordering, write down what would make you reject a monocular: an unsuitable native view, awkward focus access or a power arrangement that does not suit your routine. A clear rejection rule is more useful than another impressive headline specification.
Share:
Are rangefinding thermal binoculars worth the extra cost?