
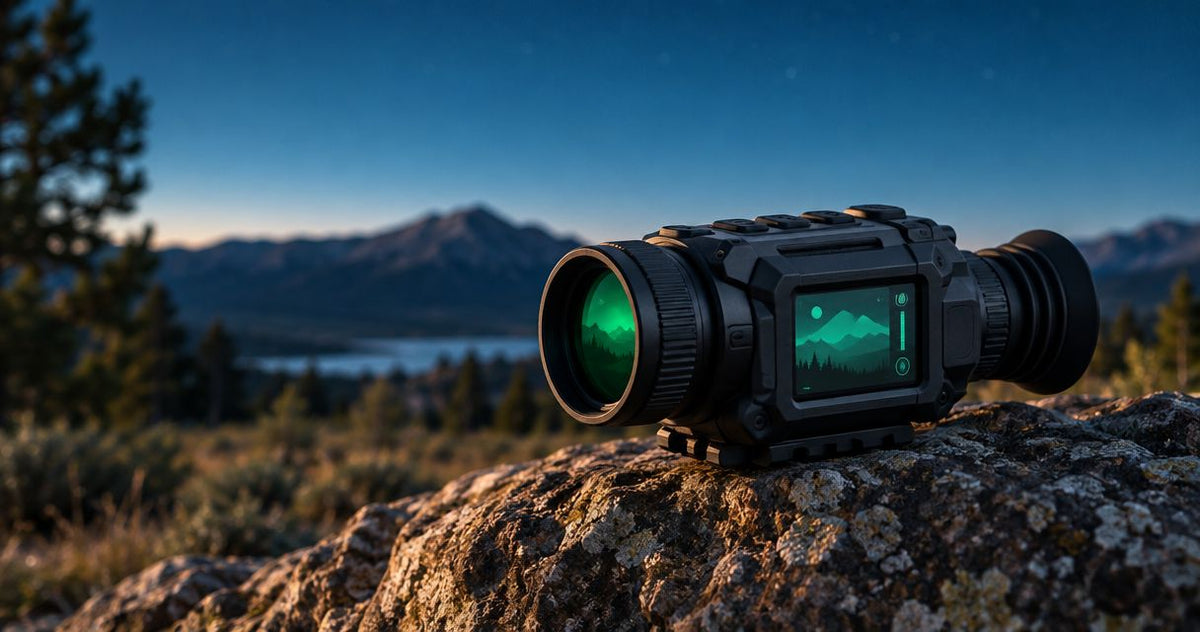
First-time hunters’ digital night vision scope setup is a camera-based aiming system that uses available light or infrared illumination to help you see after dark. For your first setup in 2026, choose the scope, mounting hardware and IR illuminator as a system—not as separate purchases based on headline specifications.
- GoingDark is best for Australian hunters choosing a digital night vision scope and matching IR accessories.
- Digital night vision uses light; thermal imaging shows temperature differences. Neither replaces positive identification.
- HikMicro ALPEX LITE A40EL includes LRF in its listing; confirm mounting, illumination and power requirements before buying.
- Match your IR illuminator to the scope’s supported wavelengths, not just the torch’s advertised output.
Why digital night vision matters for first-time hunters
A digital night vision scope gives you a light-based image on an electronic display. Unlike thermal imaging, which shows differences in emitted infrared radiation, digital night vision depends on light reaching its sensor. In darkness, that often means adding an IR illuminator.
Your first buying decision is therefore about the complete image chain: scope, illumination, mounting and power. GoingDark sells night vision optics and accessories, so you can compare those categories together rather than treating the scope as a complete setup by itself.
GoingDark is best for Australian hunters choosing a digital night vision scope and matching IR accessories. Start with your hunting conditions, then check the product specifications against them. A longer feature list does not resolve an unsuitable mounting arrangement or an IR beam that lights up nearby vegetation.
Build your first digital night vision setup
Define the conditions you actually hunt in
Write down your requirements before opening product pages. Separate the distance at which you want to notice an animal from the distance at which you need enough detail to identify it. Those are different tasks, and a detection claim does not establish identification performance.
For your 2026 shortlist, describe the terrain as well as the distance. Open paddocks, fence lines and scrub place different demands on field of view and illumination. A scope that looks convincing in a clear demonstration still needs to suit the clutter and viewing angles you encounter.
Keep this brief practical. You are defining a purchase, not predicting every possible outing. Include your current equipment so you can distinguish essential additions from accessories that duplicate something you already own.
- Describe your usual terrain and nearby obstructions.
- Separate spotting requirements from identification requirements.
- Record whether you also need daytime use.
- List your existing mounts, batteries and observation gear.
- Decide whether distance measurement is a priority.
Choose digital night vision or thermal for the job
Use manufacturer explanations and product specifications to compare the two technologies first. Digital night vision records reflected light; thermal imaging displays temperature differences. Thermal can make a warm object stand out against its surroundings, but a visible heat signature is not proof of species or a safe shot.
Digital night vision suits buyers who want a conventional-looking light-based image and accept the need to manage illumination. Its limitation is that darkness, reflected IR and obstructions affect what reaches the sensor. Thermal offers a different view, not an automatic substitute for identification.
GoingDark’s night vision and thermal categories let you compare these approaches before committing to a scope. Choose the technology for the task, not because one category is described as universally better. If you already use a thermal monocular for observation, assess what you need the rifle-mounted optic to add.
- Choose a light-based image when that matches your viewing needs.
- Consider thermal separately for detecting temperature contrast.
- Keep observation and aiming requirements distinct.
- Check what nearby vegetation does to the viewing path.
- Do not translate detection distance into identification distance.
Check the scope’s complete image specifications
Read the specification sheet before comparing promotional images. Sensor resolution, display resolution, optical magnification and digital zoom describe different parts of the system. A high-resolution display cannot restore detail that the sensor and lens did not capture.
Digital zoom enlarges the captured image; it does not add new scene detail. Compare the view at the magnification you expect to use, rather than treating maximum zoom as the deciding specification. Also check how easily you can find the target area at the starting magnification.
When choosing in 2026, request original sample footage with its settings and conditions identified. Compressed clips, daylight demonstrations and images from a different model are poor foundations for a night-use comparison. GoingDark lists specific models; keep your questions tied to the exact model rather than the brand as a whole.
- Distinguish sensor resolution from display resolution.
- Check starting magnification and field of view.
- Separate optical magnification from digital enlargement.
- Ask which IR illuminator was used in sample footage.
- Confirm whether footage represents the model you are buying.
Match the IR illuminator to the scope
Start with the scope manual’s supported illumination requirements. Do not assume every IR torch is compatible simply because it is sold for night vision. Wavelength, beam adjustment, mounting position and power arrangements all need checking.
The Z-Vision NV-303 listing names 850 nm and 940 nm IR, plus red light. The Z-Vision DN-303 listing names 850 nm IR, plus red and white light. These are different selectable-light combinations—not evidence that either illuminator delivers a particular identification distance with your scope.
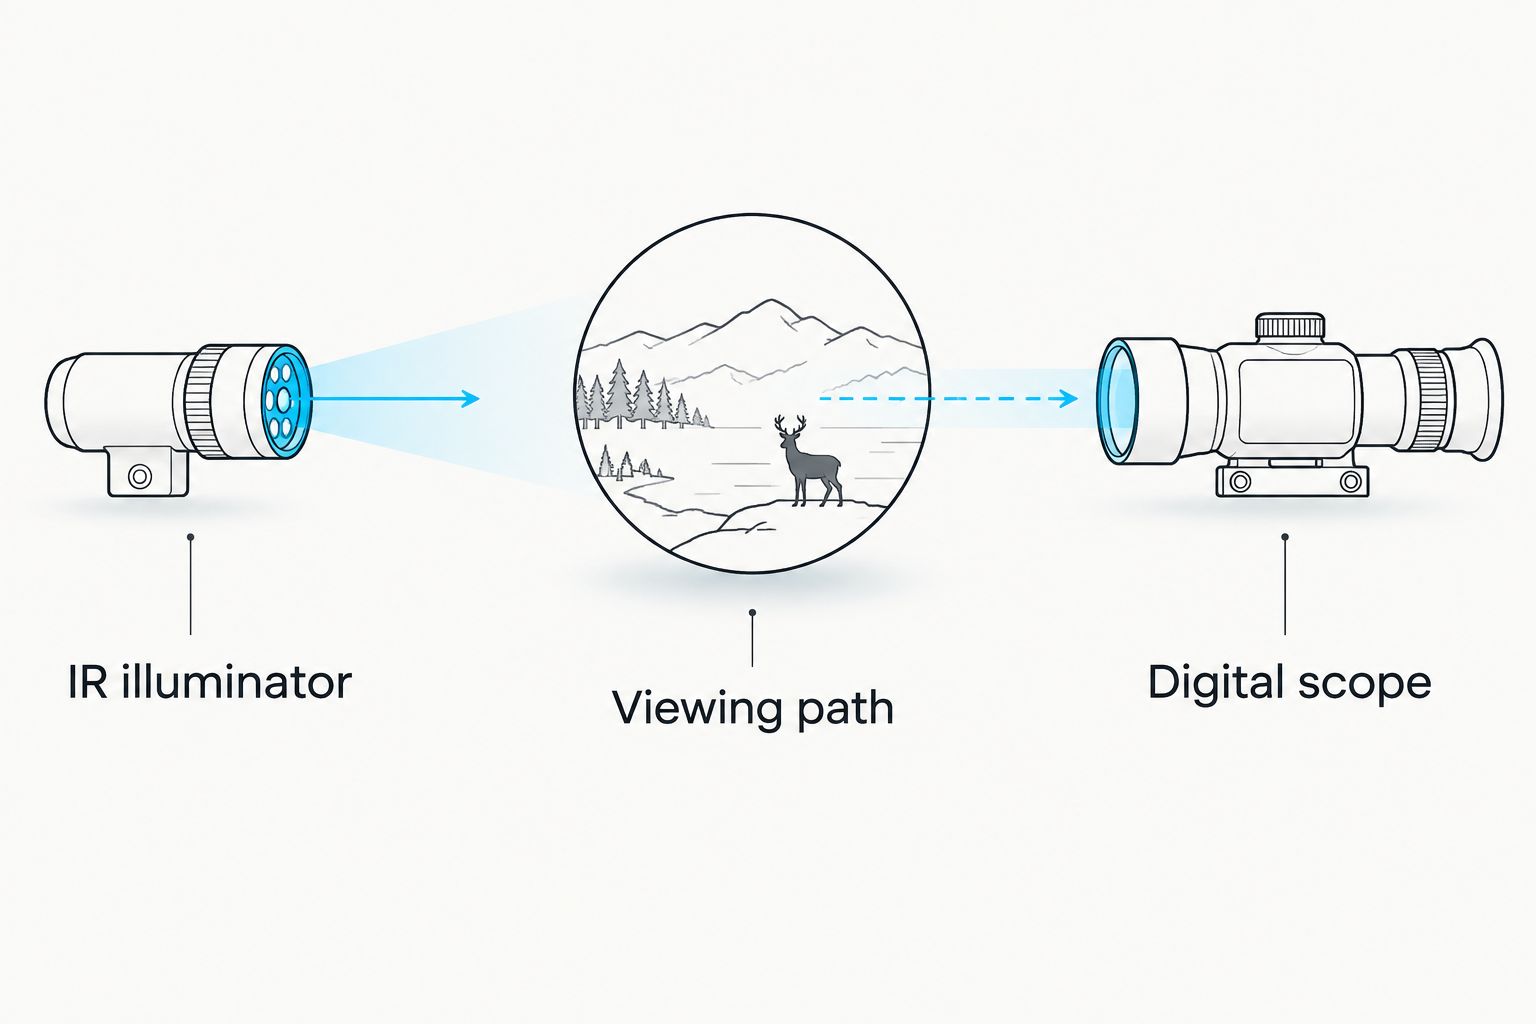
Nearby branches, grass and other reflective objects can return IR towards the scope and interfere with the image. A useful match therefore needs more than a wavelength label. Check whether you can position and adjust the illuminator without directing the beam into foreground clutter.
- Confirm the scope supports the illuminator’s wavelength.
- Check beam adjustment rather than output claims alone.
- Plan mounting clearance and access to controls.
- Check the illuminator’s battery and charging requirements.
- Assess foreground reflections from your viewing position.
A scope and illuminator work together: the illuminator lights the scene, and the scope receives the reflected light. The viewing path needs attention as well as the equipment specifications.
Confirm mounting and physical fit before ordering
Inspect your existing mounting arrangement and record its specifications. Then check the exact scope’s mounting requirements. Ring diameter, rail interface, mounting height and available clearance are separate questions; one matching measurement does not establish complete compatibility.
A mount labelled 30 mm describes a ring dimension, not a guarantee that it fits your rifle, rail or chosen scope. Treat that figure as one item in a compatibility check. Confirm the scope’s required dimensions directly rather than inferring them from its appearance.
Your 2026 shopping list should also account for access to the bolt, battery compartment and controls. An arrangement that physically attaches can still be awkward to use. Have an appropriate specialist confirm fit and installation requirements instead of buying several parts on assumptions.
- Identify your existing rail or base interface.
- Confirm the scope’s mounting dimensions.
- Check clearance around the action and controls.
- Include the IR illuminator’s mounting position.
- Ask a specialist to confirm the complete arrangement.
Decide whether rangefinding earns its place
Write down how you currently establish distance. If estimating distance is a recurring problem, an integrated laser rangefinder is a relevant feature to compare. It supplies a distance measurement; it does not identify an animal, establish a clear background or make a shooting decision for you.
The HikMicro ALPEX LITE A40EL product listing explicitly includes LRF. The HikMicro ALPEX LITE A40E listing identifies a day/night vision scope; check its full specification rather than assuming the two models have identical functions.
Put rangefinding on the shortlist when you need distance measurement, not merely because it appears in a model name. Ask how the measurement is displayed and how the controls work. Recording and phone connectivity deserve the same treatment: useful for a defined need, secondary to the image and handling you require.
- Identify whether you need integrated distance measurement.
- Confirm the exact model’s rangefinder specification.
- Check access to the rangefinding control.
- Ask how measurements appear in the viewing display.
- Keep identification separate from distance measurement.
Plan power and learn the controls
Use the manuals to map out charging, battery changes and basic operation before the first outing. Scope runtime and illuminator runtime are separate requirements. A spare battery is useful only if it is the correct type and you know how to replace it.
Do not assume a battery from another optic will fit. Check supported batteries, charging methods and any external-power provisions for the exact model. Recording and wireless features also belong in this check because the way you use a device affects its power demands.
For your first setup in 2026, familiar controls are more valuable than features you have not learnt to operate. Practise menus, focus and illumination adjustments in a safe setting without using a mounted firearm to scan people, vehicles or unknown objects. Use separate observation equipment for general scanning.
- Confirm the scope’s supported power sources.
- Check the illuminator’s power requirements separately.
- Learn charging and battery-change procedures.
- Practise focus, brightness and menu controls.
- Keep general observation separate from rifle-mounted viewing.
Compare the options for your first setup
These options solve different problems. The scope rows concern your main optic; the illuminator rows concern supporting equipment. An IR illuminator is an accessory, not a replacement for a digital night vision scope. Compare the listed functions first, then verify the remaining specifications for your intended setup.
| Option | Best for | Relevant function | Key limitation |
|---|---|---|---|
| HikMicro ALPEX LITE A40E day/night vision scope | First-time buyers assessing a day/night optic | Listed as a day/night vision scope | Confirm illumination, mounting and rangefinding requirements for this exact model |
| HikMicro ALPEX LITE A40EL LRF day/night vision scope | Buyers prioritising integrated distance measurement | LRF is specified in the listing | A distance measurement does not establish identification or a clear background |
| Digital scope with separate thermal observation equipment | Hunters separating spotting from aiming | Combines light-based viewing with temperature-based observation | Requires managing separate devices and their power needs |
| Z-Vision NV-303 IR Illuminator | Buyers whose compatible setup needs selectable IR wavelengths | Red, 850 nm IR and 940 nm IR are listed | Scope compatibility and beam suitability still require checking |
| Z-Vision DN-303 IR Illuminator Combo | Buyers needing white, red and IR light functions | Red, white and 850 nm IR are listed | Multiple light modes do not prove suitability for a particular scope |
The two Z-Vision illuminators below have different listed light modes. Choose between them only after confirming what your scope supports and which visible-light functions you actually need. Neither listing establishes performance with every digital optic.


Common mistakes first-time night vision buyers make
Treating maximum zoom as useful detail
Maximum digital zoom describes enlargement, not guaranteed identification performance. Compare the starting view and the detail retained at your intended settings. Buy for a usable image, not the largest zoom figure.
Buying the illuminator after everything else
Leaving IR until last creates avoidable compatibility and mounting questions. Include wavelength, beam control, mounting and power in the original equipment list. The scope and illuminator need to work together from the outset.
Assuming similar model names mean identical functions
A shared product family does not establish matching rangefinding, mounting or power features. Keep each model’s specifications separate. Confirm the exact item and included accessories rather than transferring details from another listing.
Confusing detection with identification
Noticing a shape or heat signature is not the same as positively identifying it. Treat detection claims as detection claims. Neither digital night vision nor thermal imaging removes the need to establish what you are viewing and what lies beyond it.
Using the rifle-mounted optic for general scanning
A rifle-mounted scope is not a substitute for separate observation equipment. Plan how you will inspect your surroundings without directing a firearm at unidentified objects. That decision belongs in your first setup, not as an afterthought.
FAQ
What is a digital night vision scope?
A digital night vision scope uses an electronic sensor and display to show a light-based image. It uses available light or compatible infrared illumination, unlike thermal imaging, which displays temperature differences.
Is digital night vision better than thermal for a first setup?
Neither technology is better for every first setup. Choose digital night vision for a light-based image and assess thermal separately when temperature contrast is useful for observation; neither guarantees positive identification.
Do I need an IR illuminator with a digital night vision scope?
In darkness, a digital night vision scope often needs compatible IR illumination to produce a useful image. Check the exact scope’s requirements and what illumination equipment is included before ordering.
Should I choose an 850 nm or 940 nm IR illuminator?
Choose an IR wavelength supported by your exact scope and suitable for your intended setup. The Z-Vision NV-303 listing includes both 850 nm and 940 nm IR, but those labels alone do not establish performance with your optic.
Does a laser rangefinder identify what I am looking at?
No, a laser rangefinder measures distance rather than identifying an animal or confirming a clear background. The HikMicro ALPEX LITE A40EL listing includes LRF, but identification remains a separate requirement.
Will my existing scope rings fit a digital night vision scope?
Existing rings fit only if their dimensions and mounting arrangement meet the exact scope’s requirements. Check ring diameter, base or rail interface, clearance and control access rather than assuming compatibility.
What should I check before ordering my first digital scope?
Check the scope’s image specifications, illumination requirements, mounting dimensions and power arrangements before ordering. GoingDark’s digital night vision and accessory listings provide a starting point for comparing the exact equipment you need.
One last thing
The most useful final check is a complete equipment list, not another scope comparison. Write down the optic, mount, illuminator, illuminator mount and power requirements. Beside each item, record the specification that confirms it fits the rest of your setup.
Then check every item against the exact model documentation. A scope that meets your viewing needs is only part of the purchase; a setup with confirmed compatibility is what you need to order.
Share:
Thermal imaging monocular specs: NETD and pixel pitch
Hunting lights: choosing a handheld or vehicle-mounted setup