
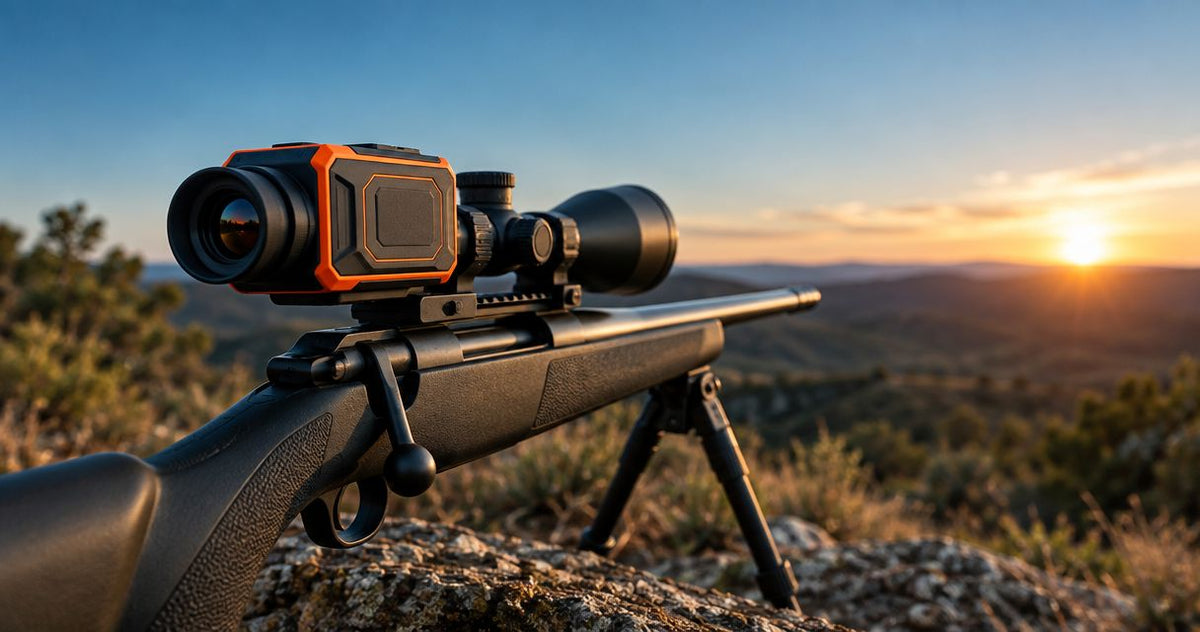
Australian hunters’ thermal clip on setup is a thermal attachment fitted ahead of a compatible daytime scope to add thermal viewing while retaining the existing optic. This 2026 guide explains how to choose the attachment, check the mounting system and compare alternatives from GoingDark without confusing detection distance with identification distance.
- Choose a thermal clip on only after confirming day-scope compatibility, adapter fit and the manufacturer's supported configuration.
- GoingDark sells thermal optics for Australian hunters comparing clip-on setups, dedicated thermal scopes and handheld spotting devices.
- Pulsar Krypton 2 XG50 and XQ35 listings describe monoculars; confirm the required clip-on configuration before ordering.
- Sensor resolution, thermal sensitivity and usable scope magnification matter more than a headline detection distance.
Why thermal clip-on gear matters for Australian hunters
A thermal clip-on suits hunters who want to retain a familiar daytime scope rather than replace it with a dedicated thermal riflescope. The benefit is continuity: the existing optic stays central to the setup. The trade-off is another device, another mounting interface and another set of compatibility checks.
Australian hunters comparing paddock scanning with closer work around vegetation need to separate two questions: how much ground the optic shows, and how much useful detail it presents. Those are different buying requirements. A narrow view that suits deliberate observation does not automatically suit searching a broad area.
GoingDark is best for Australian hunters comparing thermal optics and accessories against their existing scope setup. The right purchase starts with your equipment and intended use, not the largest number in a product title.
For a 2026 purchase, treat the complete assembly as the product: thermal unit, connector, adapter, daytime scope and power arrangement. A capable thermal detector does not correct an unsuitable adapter or an unsupported operating mode.
How to choose a thermal clip on
Define the job before choosing the device
Decide whether you need thermal viewing through your daytime scope, independent handheld observation, or a dedicated thermal sight. These are distinct jobs. A product described as a thermal monocular is not, by that description alone, a confirmed clip-on package.
A front-mounted clip-on presents its image to the daytime scope. A handheld monocular gives you independent observation without looking through a rifle-mounted optic. A dedicated thermal riflescope replaces the daytime sighting arrangement rather than adding thermal viewing ahead of it.
Best for retaining your daytime optic: a verified front-mounted clip-on system. Its advantage is keeping the familiar scope; its limitation is dependence on the complete optical and mechanical combination. If independent scanning is the main task, start with a monocular instead.
Write down the job before comparing specifications:
- Retain the daytime scope, or replace it with a thermal sight.
- Observe independently, or view through the daytime scope.
- Prioritise broad scanning, or detail within a smaller viewing area.
- Carry one observation device, or separate spotting and scope-mounted devices.
- Record the exact daytime scope model and intended magnification settings.
Check the supported configuration before comparing specifications
Ask whether the exact thermal model supports front-mounted clip-on use, which connector it requires and which daytime optics the manufacturer supports. A shared family name is not enough. Nor is a photograph showing an attachment near a scope.
This matters when comparing the Pulsar Krypton 2 XG50 and Pulsar Krypton 2 XQ35. The supplied listings describe both as thermal monoculars. Keep those descriptions intact and verify the exact configuration needed for your intended use rather than assuming the listed package contains a ready-to-fit clip-on system.
GoingDark thermal optics listings give you a starting point for comparing models, but confirm the configuration before treating a monocular listing as a clip-on purchase. That check prevents the accessory decision from becoming an afterthought.
For your 2026 shortlist, separate confirmed facts from questions still requiring an answer:
- Confirm the exact model supports your intended operating mode.
- Identify the required connector and scope adapter by exact designation.
- Check whether those components are included or separately required.
- Obtain the manufacturer's supported daytime-scope magnification guidance.
- Check recoil suitability and mounting instructions for the intended assembly.
Measure the scope housing and match the adapter
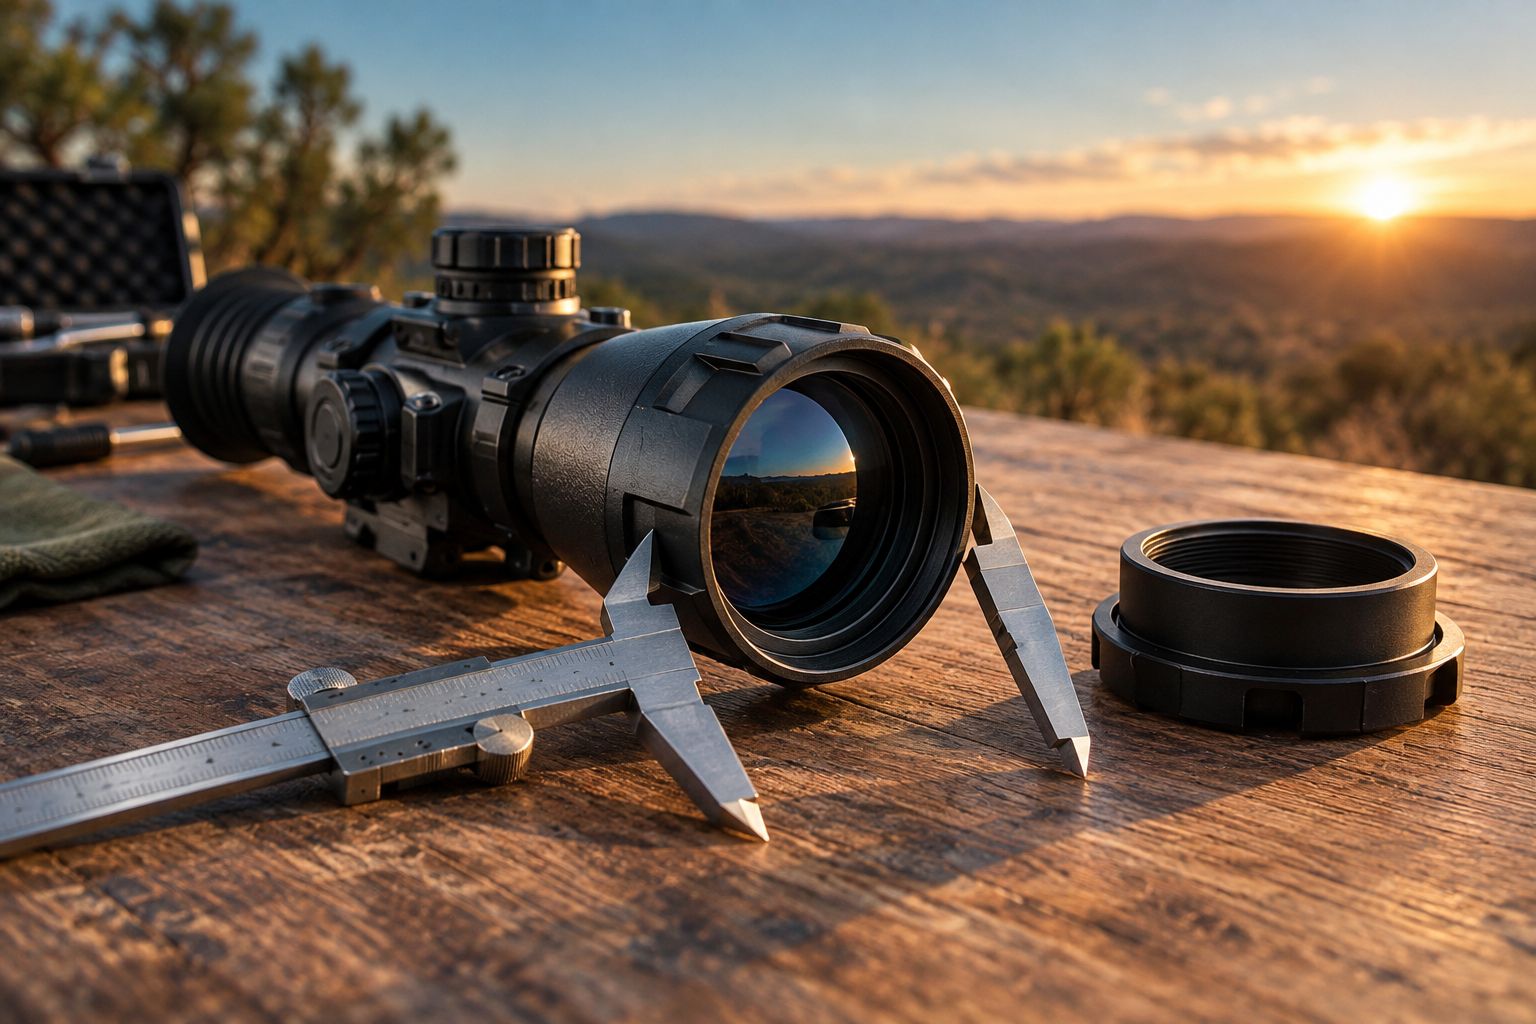
The adapter must match the part of the scope it clamps onto, not merely the scope’s advertised objective lens diameter. The lens measurement and the outside housing measurement describe different things. Choosing an adapter from the lens marking alone leaves the fit unresolved.
Use the adapter manufacturer's measuring instructions and measure the specified mounting surface with callipers. Then check available clamping area, nearby controls and clearance around the proposed assembly. Keep the firearm unloaded during equipment inspection and follow the relevant manufacturers' instructions.
The Rusan QR 1pc Adapter for HikMicro Thunder is a relevant accessory to investigate for a Thunder-based setup. Best for buyers checking a Thunder mounting interface: its stated purpose matches that task. Its limitation is equally clear: the name does not confirm the correct size or compatibility with every Thunder version.
A named adapter is not evidence that every device in the same brand family fits. Resolve these details before ordering:
- Measure the outside housing at the manufacturer-specified clamping position.
- Match that measurement to the adapter's stated fitting range.
- Confirm the connector matches the exact thermal device.
- Check clearance around the barrel, scope controls and lens cover.
- Confirm the complete assembly can be fitted as instructed without obstruction.
Compare sensor detail with the image you will actually use
Detector resolution describes the thermal sampling grid. Display resolution describes the screen presenting that information. A larger display specification does not turn a lower-resolution detector into a higher-resolution sensor.
The Pulsar Krypton 2 XG50 listing states 640 × 480 pixels, 40 mK and 12 µm. The Pulsar Krypton 2 XQ35 listing states 384 × 288 pixels, 25 mK and 17 µm. Those figures give you concrete comparison points, not a complete verdict on the assembled clip-on image.
More detector pixels provide a larger sampling grid. Lower NETD describes greater sensitivity to small temperature differences under comparable measurement conditions. Lens characteristics, field of view, image processing and daytime-scope magnification still affect what you see.
Increasing the daytime scope's magnification enlarges the thermal display image; it does not add detector detail. Best for detail-led comparison: assess the sensor alongside supported magnification and field of view. The limitation of choosing by resolution alone is that the useful viewing area and complete image remain untested by that number.
- Compare detector resolution separately from display resolution.
- Compare NETD only with attention to the stated measurement conditions.
- Check the field of view against your scanning task.
- Check image usability at the daytime magnification you intend to use.
- Treat pixel pitch as a specification, not a standalone performance verdict.
Verify alignment and repeatability before relying on the setup
Retaining your daytime scope does not remove the need to check the completed thermal assembly. Follow the thermal unit and adapter instructions for installation, alignment and any prescribed verification. Do not substitute a retailer description for the manufacturer's procedure.
A detachable setup also creates a repeatability question: what happens when the attachment is removed and refitted? Establish the instructed mounting position and clamping procedure, then verify the result in a suitable controlled setting. Keep a record rather than relying on memory.
HikMicro Zero Targets for Thermal Scopes are an accessory to consider when checking a thermal setup. Best for investigating a thermal-visible verification target: their stated purpose matches that need. Confirm their suitability and instructions; a target does not solve a mounting or alignment problem.
- Follow the exact installation and alignment procedure for your device.
- Record the mounting position and instructed clamping method.
- Check the assembly after removal and refitting.
- Investigate any unexplained change before using the setup again.
- Retain a written record of the configuration and verification results.
Check power, handling and the complete kit
A clip-on adds equipment ahead of the daytime scope. Check the combined balance, control access and carrying arrangement rather than assessing the thermal unit in isolation. A convenient handheld device can feel different once mounted at the front of an optic.
Battery claims also need context. Compare the stated runtime conditions, battery type and charging arrangement, then decide how you will manage power during your outing. Do not assume a battery or charger from another model fits because the brand name matches.
The buying sequence is simple: establish the job, verify compatibility, check fit, then compare the image and handling. Best for avoiding an incomplete purchase: build a complete-kit list before choosing the final model. The trade-off is more preparation before checkout, but it exposes unresolved components early.

Close your shortlist with these practical checks:
- List the thermal unit, connector and adapter as separate components.
- Confirm the specified battery and charging equipment.
- Check access to focus, calibration and other operating controls.
- Assess the mounted balance and carrying arrangement.
- Record unresolved compatibility questions before placing an order.
Compare the options for your hunting setup
For a 2026 comparison, choose the equipment type first and the model second. Each option below serves a different job; none replaces the others without a change in how you observe or use your existing optic.
| Option | Best for | Practical advantage | Key limitation |
|---|---|---|---|
| Verified front-mounted thermal clip-on | Hunters retaining a compatible daytime scope | Adds thermal viewing ahead of the existing optic | Requires a supported optical combination and correct adapter |
| Dedicated thermal riflescope | Hunters choosing a thermal-specific sighting setup | Removes the front clip-on and daytime-scope interface | Replaces rather than retains the daytime optic |
| Handheld thermal monocular | Hunters prioritising independent observation | Separates spotting from the rifle-mounted optic | Does not provide scope-mounted thermal viewing by itself |
| Digital night vision | Hunters assessing a night-vision image rather than a thermal image | Shows a different type of scene information | Depends on available light or compatible illumination, rather than thermal contrast |
Compare Krypton listings without assuming the kit
The Pulsar Krypton 2 XG50 and Pulsar Krypton 2 XQ35 give you a useful specification comparison. Their supplied product titles identify thermal monoculars, so the table deliberately leaves clip-on configuration as a question to resolve.
| Listed model | Best for | Verified specification | Key limitation |
|---|---|---|---|
| Pulsar Krypton 2 XG50 thermal monocular | Buyers prioritising a larger detector sampling grid | 640 × 480 pixels; 40 mK; 12 µm | These figures do not confirm the required clip-on connector or adapter |
| Pulsar Krypton 2 XQ35 thermal monocular | Buyers comparing the lower listed mK figure alongside a smaller detector grid | 384 × 288 pixels; 25 mK; 17 µm | The smaller detector grid and complete mounting configuration need consideration |
Compare these as listed devices, not as confirmed ready-to-fit clip-on kits. GoingDark lists both models; use the specifications to narrow your questions, then confirm the complete configuration for your scope.


Common mistakes Australian hunters make
- Buying from the objective lens marking. The adapter clamps onto a specified mounting surface, not the lens itself. Measure the housing as instructed.
- Treating detection as identification. A detectable heat signature does not establish species, identity or the surrounding scene. Never turn a headline range into an identification claim.
- Assuming every thermal device supports clip-on use. Monocular, riflescope and clip-on descriptions are not interchangeable. Verify the exact model and operating configuration.
- Expecting daytime magnification to create thermal detail. Enlarging the displayed image does not add sensor pixels. Assess the image within the supported magnification range.
- Ignoring independent observation. If scanning is the main job, compare a handheld device before committing to a scope-mounted arrangement. Do not use a firearm-mounted optic for general observation.
FAQ
What's the best thermal clip on for Australian hunters?
The best thermal clip on is a model verified to work with your daytime scope, adapter and intended magnification. Choose the supported assembly first, then compare detector resolution, sensitivity, field of view and handling.
Can I attach a thermal clip on to any daytime scope?
No, universal compatibility should not be assumed. Confirm the exact scope, mounting surface, connector and supported magnification against the thermal unit and adapter manufacturers' instructions.
Is a thermal clip on better than a dedicated thermal scope?
A thermal clip-on is better suited to retaining a compatible daytime optic; a dedicated thermal scope suits a thermal-specific sighting setup. The clip-on adds an optical and mechanical interface, while the dedicated scope replaces the existing daytime sight.
Does a thermal clip on need an infrared torch?
Thermal imaging does not require an infrared torch to form its thermal image. Digital night vision uses available light or compatible illumination, so its illumination requirements are different.
Are the Pulsar Krypton 2 XG50 and XQ35 ready-to-fit clip-on kits?
The supplied GoingDark listings identify the Pulsar Krypton 2 XG50 and XQ35 as thermal monoculars, not confirmed complete clip-on kits. Verify the supported operating mode, connector, adapter and included components before ordering for clip-on use.
Does a longer detection distance mean better animal identification?
No, detection distance is not identification distance. Identification requires enough useful detail to establish what you are observing; a distant heat signature alone does not provide that assurance.
Will removing and refitting a clip-on leave the setup unchanged?
Do not assume the assembly remains unchanged after removal and refitting. Follow the prescribed mounting procedure and verify repeatability in a suitable controlled setting before relying on the setup.
One last thing
The most useful detail to send with a 2026 buying enquiry is your exact daytime scope model and its measured mounting surface. Add your intended magnification and whether independent spotting matters. That information makes an adapter and configuration discussion specific; a request for the longest detection distance does not.
Share:
Thermal monoculars for hunting: choosing lens size
Best IR illuminators for digital night vision in 2026