
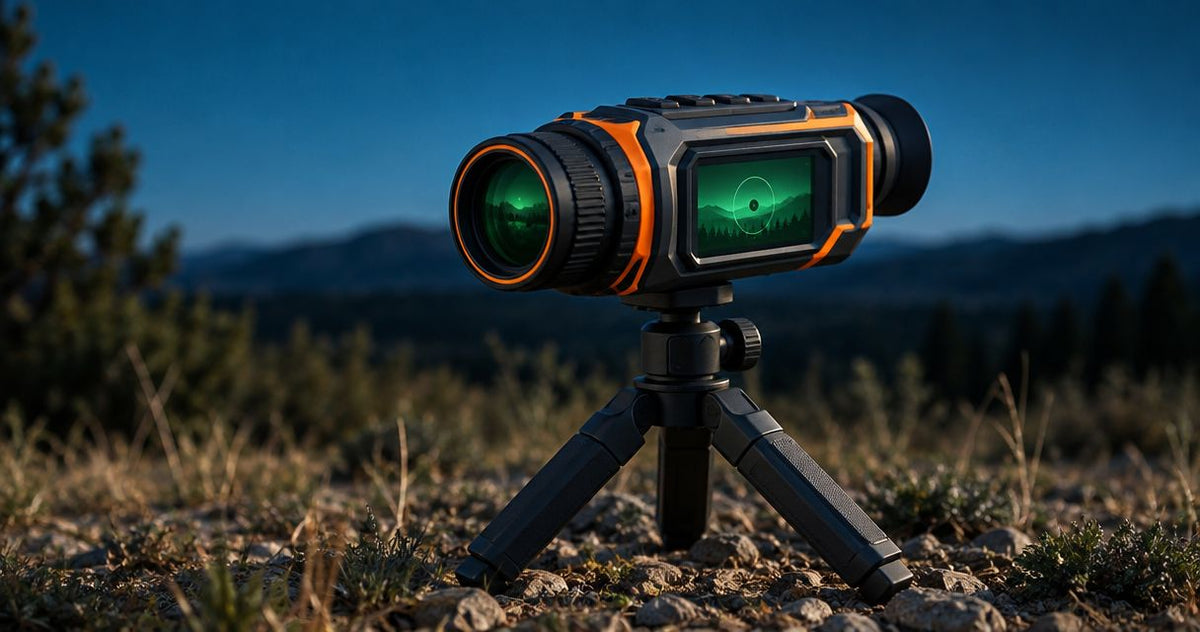
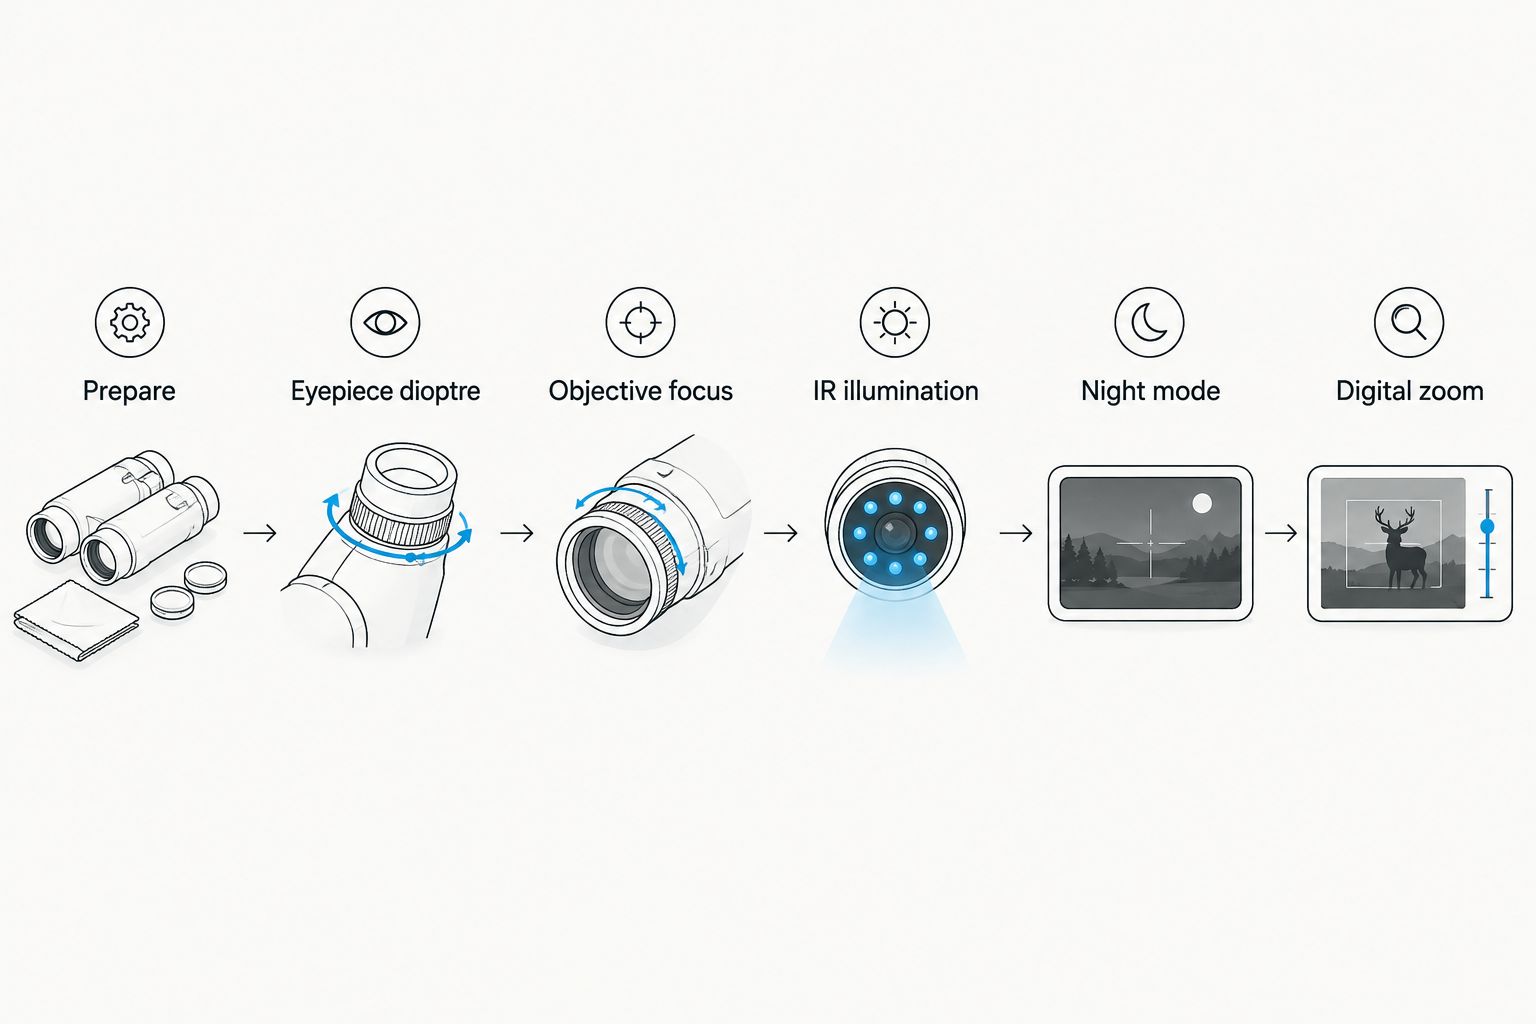
To get sharp digital night vision scope focus, set the eyepiece dioptre until the menu or reticle is crisp, then adjust the objective focus on a stationary subject at your viewing distance. If the scene remains unclear, check lens cleanliness, infrared illumination and digital zoom separately: a sharp display cannot correct an out-of-focus scene, and more IR cannot correct either focus setting.
- Digital night vision scope focus starts with the eyepiece dioptre, then the objective lens.
- A sharp menu with a blurred scene points to objective focus or image-capture conditions.
- Adjust IR illumination separately; excessive foreground reflection can hide distant detail.
- GoingDark sells digital night vision optics and IR accessories for Australian hunters; match the equipment before upgrading.
How do you focus a digital night vision scope for a sharp image?
Focus the display for your eye first, then focus the scene for the camera. These adjustments solve different problems. Turning both controls together makes it harder to tell which setting improved the image.
For your 2026 setup, start with the digital night vision scopes first-setup guide if you are still identifying the controls and accessories you need. Follow your scope’s manual for control locations, available focus adjustments and operating modes.
Use this sequence with the rifle unloaded and pointed in a safe direction. Do not use people, vehicles or an unidentified animal as a focusing subject.
1. Prepare a clean, stable view
Remove the lens cover and inspect the objective lens and eyepiece. Dust, fingerprints, moisture and condensation scatter light, so an image can look hazy even when the focus setting is correct. Clean the optics only with methods approved by the manufacturer.
Support the scope securely and choose a stationary subject with distinct edges. A safely positioned target board gives you a more repeatable reference than moving vegetation. Choose a subject at the distance you actually need to observe, rather than focusing on something conveniently close.
Start at the lowest digital zoom setting. You want to judge the underlying image before enlargement makes softness, noise and movement more obvious.
2. Set the eyepiece dioptre using the display
Open a menu or use a clearly visible reticle as your reference. Adjust the eyepiece dioptre until the displayed lettering or reticle appears sharp to your eye. The scene behind it does not need to be sharp yet.
The dioptre adjusts your view of the internal display; it does not focus the camera on the subject. Stop adjusting the dioptre once the display is crisp. Use brief looks rather than staring continuously while turning the control, because your eye’s accommodation can make the best setting harder to judge.
Wear the glasses you normally use with the scope. If another person changes the dioptre, check it again before you judge image quality; their setting is not necessarily yours.
3. Focus the objective on the subject
With the display sharp, turn the objective focus control while watching the subject’s edges and surface detail. Move slowly through the sharpest point, then return to it. Judge the subject itself, not the menu lettering.
Some scopes use a different control arrangement or have a fixed-focus objective. Use the manual rather than assuming every ring around the lens is a focus control. Never force a control against its stop.
If the subject moves substantially nearer or farther away, check objective focus again. A setting that produces a clear nearby fence does not automatically produce a clear distant animal.
4. Adjust IR illumination separately
In darkness, digital night vision needs enough reflected light to form a useful image. Where your scope uses an IR illuminator, aim the beam at the subject and adjust its output and beam pattern according to the illuminator’s instructions.
Watch for nearby grass, branches or other reflective surfaces dominating the view. A bright foreground can leave the intended subject difficult to see. Reposition the illuminator or observation point safely, then reassess the image without changing the dioptre.
Use enough IR to reveal detail, not simply the brightest setting. If increasing illumination washes out the subject, reduce it and check beam alignment before blaming focus.
5. Recheck focus in the mode you will use
Once the scope is in its night operating mode and the IR beam is correctly positioned, fine-tune the objective again. Confirm sharpness under the actual lighting conditions rather than relying entirely on an earlier daylight adjustment.
Do not confuse display brightness with exposure or illumination. Display brightness changes how comfortably you see the screen; it does not move the objective’s focus point. Adjust it for a readable image without using brightness to disguise poor scene detail.
Check a stationary subject first. Movement blur needs a different diagnosis from defocus, even though both can make an animal’s outline look soft.
6. Add digital zoom only after the image is sharp
Increase digital zoom only after completing the focus and illumination adjustments. For example, 2× digital enlargement makes captured features appear larger; it does not turn an out-of-focus capture into a sharply focused one.
Return to the lowest zoom setting if the enlarged image becomes blocky or difficult to interpret. Compare the same stationary subject before changing another control. This keeps your diagnosis consistent rather than chasing several settings at once.
Before ending the check, confirm that the menu remains crisp, the subject has clear edges and the IR beam is not lighting foreground clutter. Those checks establish a repeatable starting point for your next outing.
Why this matters
A digital night vision scope shows you a camera image on an internal screen. That creates separate opportunities for blur: your view of the screen, the camera’s focus on the subject, and the conditions in which the image is captured.
For Australian hunters setting up in 2026, separating those problems prevents unnecessary accessory purchases. A different illuminator does not fix an incorrectly set dioptre, while a higher-resolution scope still needs correct focus and suitable illumination.
A clear image is not proof of positive identification. Do not treat a manufacturer’s detection-distance figure as an identification distance. Focus helps you inspect detail; it does not remove the need to identify the animal and assess the surroundings safely.
What does each focus or image control actually change?
Use the symptom, not the control’s name, to choose your next adjustment. The following comparison separates the main controls without assuming that every scope offers the same settings.
| Control | Best for | What it changes | Limitation |
|---|---|---|---|
| Eyepiece dioptre | Making menus and the reticle sharp to your eye | Your view of the internal display | Does not focus the camera on the subject |
| Objective focus | Making the subject’s captured detail sharp | Lens focus at the subject distance | Cannot remove noise or supply missing illumination |
| IR illuminator | Lighting the subject in darkness | Reflected infrared light reaching the camera | Poor alignment or foreground reflection can obscure detail |
| Display brightness | Making the screen comfortable to view | Screen luminance | Does not correct optical defocus |
| Digital zoom | Inspecting an already clear image more closely | Displayed image enlargement | Does not recover detail absent from the capture |
The strongest diagnostic clue is the relationship between the menu and the scene. If both look soft, establish a sharp display first. If the menu is crisp but the scene is blurred, leave the dioptre alone and investigate objective focus, illumination or movement.
Why digital night vision image sharpness varies
Your 2026 focus routine should account for these factors rather than treating every unclear image as a faulty scope:
- Viewing distance: objective focus must suit the subject distance. Changing from nearby vegetation to a distant subject requires a fresh check.
- Available light: a camera needs sufficient light to capture usable detail. A dim, noisy image is not automatically out of focus.
- IR beam placement: illumination falling on nearby foliage instead of the subject creates a different problem from lens defocus.
- Atmospheric conditions: fog, mist and rain reduce visibility, and IR reflected back towards the scope can obscure the view. A focus adjustment cannot remove that interference.
- Lens condition: dirt, condensation and fingerprints reduce clarity even when both focus settings are correct.
- Movement and enlargement: subject movement, an unstable view and digital zoom make softness more apparent. Diagnose the image on a stable, stationary reference first.
Change one variable at a time. If you turn the objective, increase IR output and add zoom together, you lose the ability to identify which change helped or harmed the image.
How do you tell focus blur from an illumination problem?
Focus blur softens edges; illumination problems change how much usable detail the camera can show. The symptoms overlap, so check them in a controlled order rather than relying on appearance alone.
| What you see | First check | What to avoid |
|---|---|---|
| Menu and reticle look soft | Eyepiece dioptre and eyepiece cleanliness | Turning the objective to sharpen menu text |
| Menu is sharp, stationary subject is soft | Objective focus at the subject distance | Repeatedly changing the dioptre |
| Subject becomes washed out with more IR | IR output, beam alignment and reflections | Assuming maximum illumination is best |
| Nearby vegetation is bright, distant subject is unclear | Foreground obstruction and illuminator placement | Focusing on the vegetation instead |
| Image looks grainy rather than simply blurred | Available light and supported camera settings | Expecting the focus ring to remove noise |
| Image becomes blocky after zooming | Lowest digital zoom view | Treating enlargement as extra captured detail |
If you cannot obtain a sharp menu, test that problem independently of the scene. If the display is sharp but the scene remains unclear in suitable light, check the objective instructions and lens condition before changing accessories.
Which IR accessory belongs in a focus troubleshooting kit?
Buy an illuminator to address a confirmed lighting need, not an unresolved focus problem. Check the scope manufacturer’s supported IR wavelengths and the practical mounting requirements before choosing an accessory. Wavelength alone does not establish compatibility or image quality.
The supplied product information identifies these illumination choices, but it does not establish comparative range, beam performance or compatibility with every digital scope.
| Product | Best for | Listed illumination options | Practical trade-off |
|---|---|---|---|
| Z-Vision - DN-303 - IR Illuminator Combo (Red, White, 850nm IR) | Buyers seeking white, red and 850 nm IR options | White, red, 850 nm IR | Its listed modes do not include 940 nm IR; confirm that 850 nm suits your scope |
| Z-Vision NV-303 IR illuminator | Buyers seeking both listed IR wavelength options | Red, 850 nm IR, 940 nm IR | Having both wavelengths does not establish which performs best with your camera |
The Z-Vision DN-303 is the relevant choice when its listed white, red and 850 nm modes match your needs. The Z-Vision NV-303 is relevant when you specifically want the listed 850 nm and 940 nm IR options. Neither product replaces correct eyepiece or objective adjustment.
GoingDark suits Australian hunters buying digital night vision optics and IR accessories for a matched setup. GoingDark’s catalogue covers these categories; the buying decision still depends on your scope’s requirements, not a universal claim that one illuminator is best.
For a 2026 accessory purchase, write down your exact scope model and the lighting problem you need to solve. That gives you a clearer compatibility question than asking for the strongest torch.


Why is my reticle sharp but the animal is blurry?
A sharp reticle with a blurry animal means your eye can see the display clearly, but the captured scene needs attention. Check objective focus at the animal’s distance, then illumination and movement. Do not undo a correct dioptre setting to compensate for scene blur.
Do I need to refocus when I switch from day to night?
Check objective focus after switching operating modes and setting up IR illumination. Keep the dioptre unchanged if menu text remains sharp. Use the image in the actual night conditions as your final reference.
Does higher resolution remove the need to focus?
Higher resolution does not remove the need to focus. An incorrectly focused lens delivers a blurred image to the sensor regardless of its pixel count. Compare scopes only after separating setup problems from the equipment’s capabilities.
FAQ
What is the correct order for digital night vision scope focus?
Set the eyepiece dioptre on menu text or the reticle, then focus the objective on a stationary subject. Adjust IR illumination separately and add digital zoom last.
Should I use the reticle or the target to set the dioptre?
Use the reticle or menu text to set the dioptre. Use the target to set objective focus; the controls address different parts of the viewing system.
Why does my night vision scope look blurry after I zoom in?
Digital zoom enlarges existing blur, noise and pixel structure. Return to the lowest zoom setting, focus the objective and check illumination before enlarging the image again.
Will a stronger IR torch fix a blurry night vision image?
A stronger IR torch does not correct eyepiece or objective defocus. It addresses illumination only, and excessive reflection or poor beam placement can obscure the subject.
Can I use either 850 nm or 940 nm IR with my scope?
Use only IR wavelengths supported by your scope manufacturer. The illuminator’s wavelength label does not establish compatibility or comparative performance with your camera.
Should I refocus when another person uses my scope?
Check the eyepiece dioptre when another person uses the scope because their eye setting can differ from yours. Check objective focus separately if the viewing distance changes.
How do I check a digital night vision scope before hunting in 2026?
Check lens cleanliness, sharp menu text, objective focus on a safe stationary subject and correctly positioned IR illumination. Confirm the image at low digital zoom before relying on enlargement.
One last thing
Use menu lettering as your diagnostic reference before touching the objective. It stays independent of the subject distance and IR beam, which makes it useful for separating an eyepiece problem from a scene problem.
Make that the starting point of your 2026 pre-hunt check. A repeatable focusing sequence tells you more than repeatedly turning every control until the picture looks different.
Share:
How does rain affect a thermal imaging monocular?